
Every beekeeper these days seems to be at least thinking about raising his or her own queens. That’s a good thing, and really not an option if you intend to keep bees for the long haul. While mated queens can be readily purchased the entire beekeeping season from numerous large queen rearing operations at a reasonable price, our experience has been that letting somebody else raise your queens at a location on the other side of the country with an entirely different climate, etc. introduces more variables/risks than you really want. Raising queens from your own survivor stock is a good way to put control knobs on some (but not all!) of the variables and dial in to the types of queens that will work best in your particular locality.
This summer marks the fourth summer we’ve been raising all of our own queens we need for our sideline operation in-house. While we’ve purchased some queens from down south earlier in the season, these have been for nucs we’ve made up in the spring for customers who didn’t want to wait until we were able to raise our own queens. For our own apiaries, we’ve relied solely upon queens we’ve selected and raised from our own survivor stock.

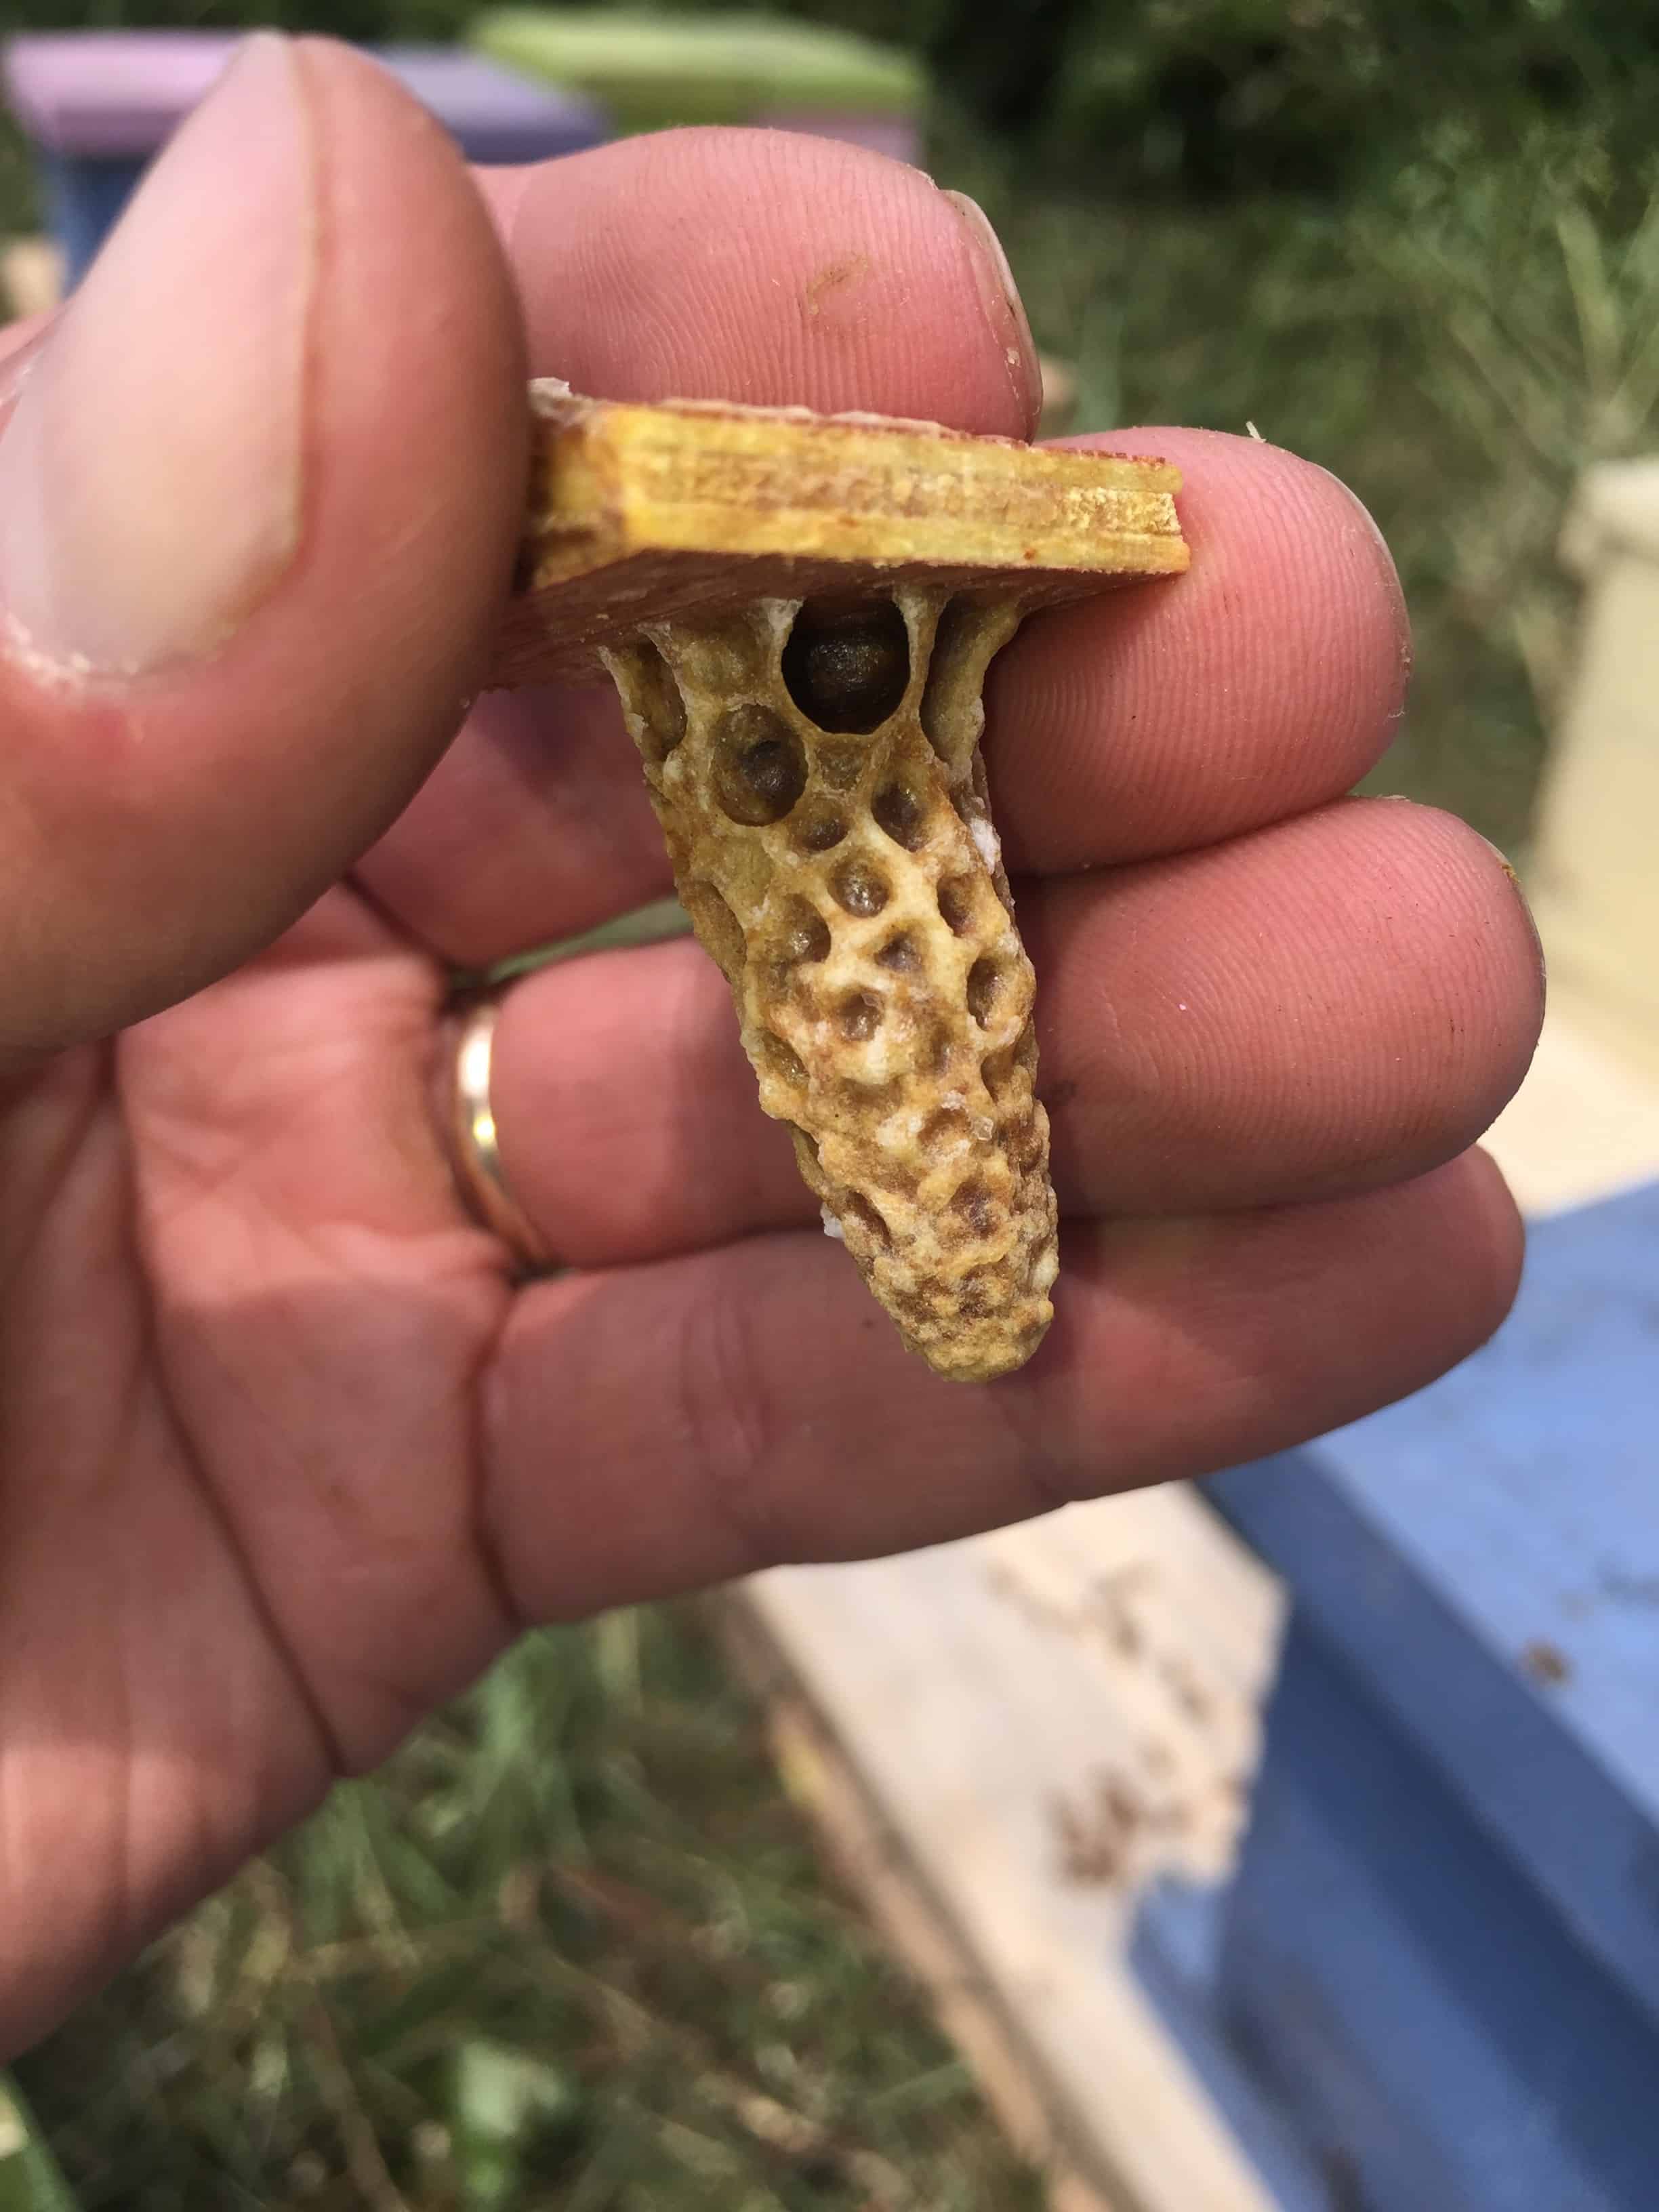
We mount the punched cells on little wood squares with a little hot beeswax. They come off readily once ripe and can be pushed into a brood frame in a mating nuc.
Our first successful attempt back in 2011 was based on what I learned from a presentation Jerry Freeman gave at a bee meeting I attended. (I had tried other approaches prior to Jerry’s enlightening talk but largely failed.) Jerry’s approach appealed to me for two reasons – a) it eliminated grafting, and b) it is a simple approach that controls enough of the variables to successfully produce sufficient queens for any small backyard or sidelines bee operation.
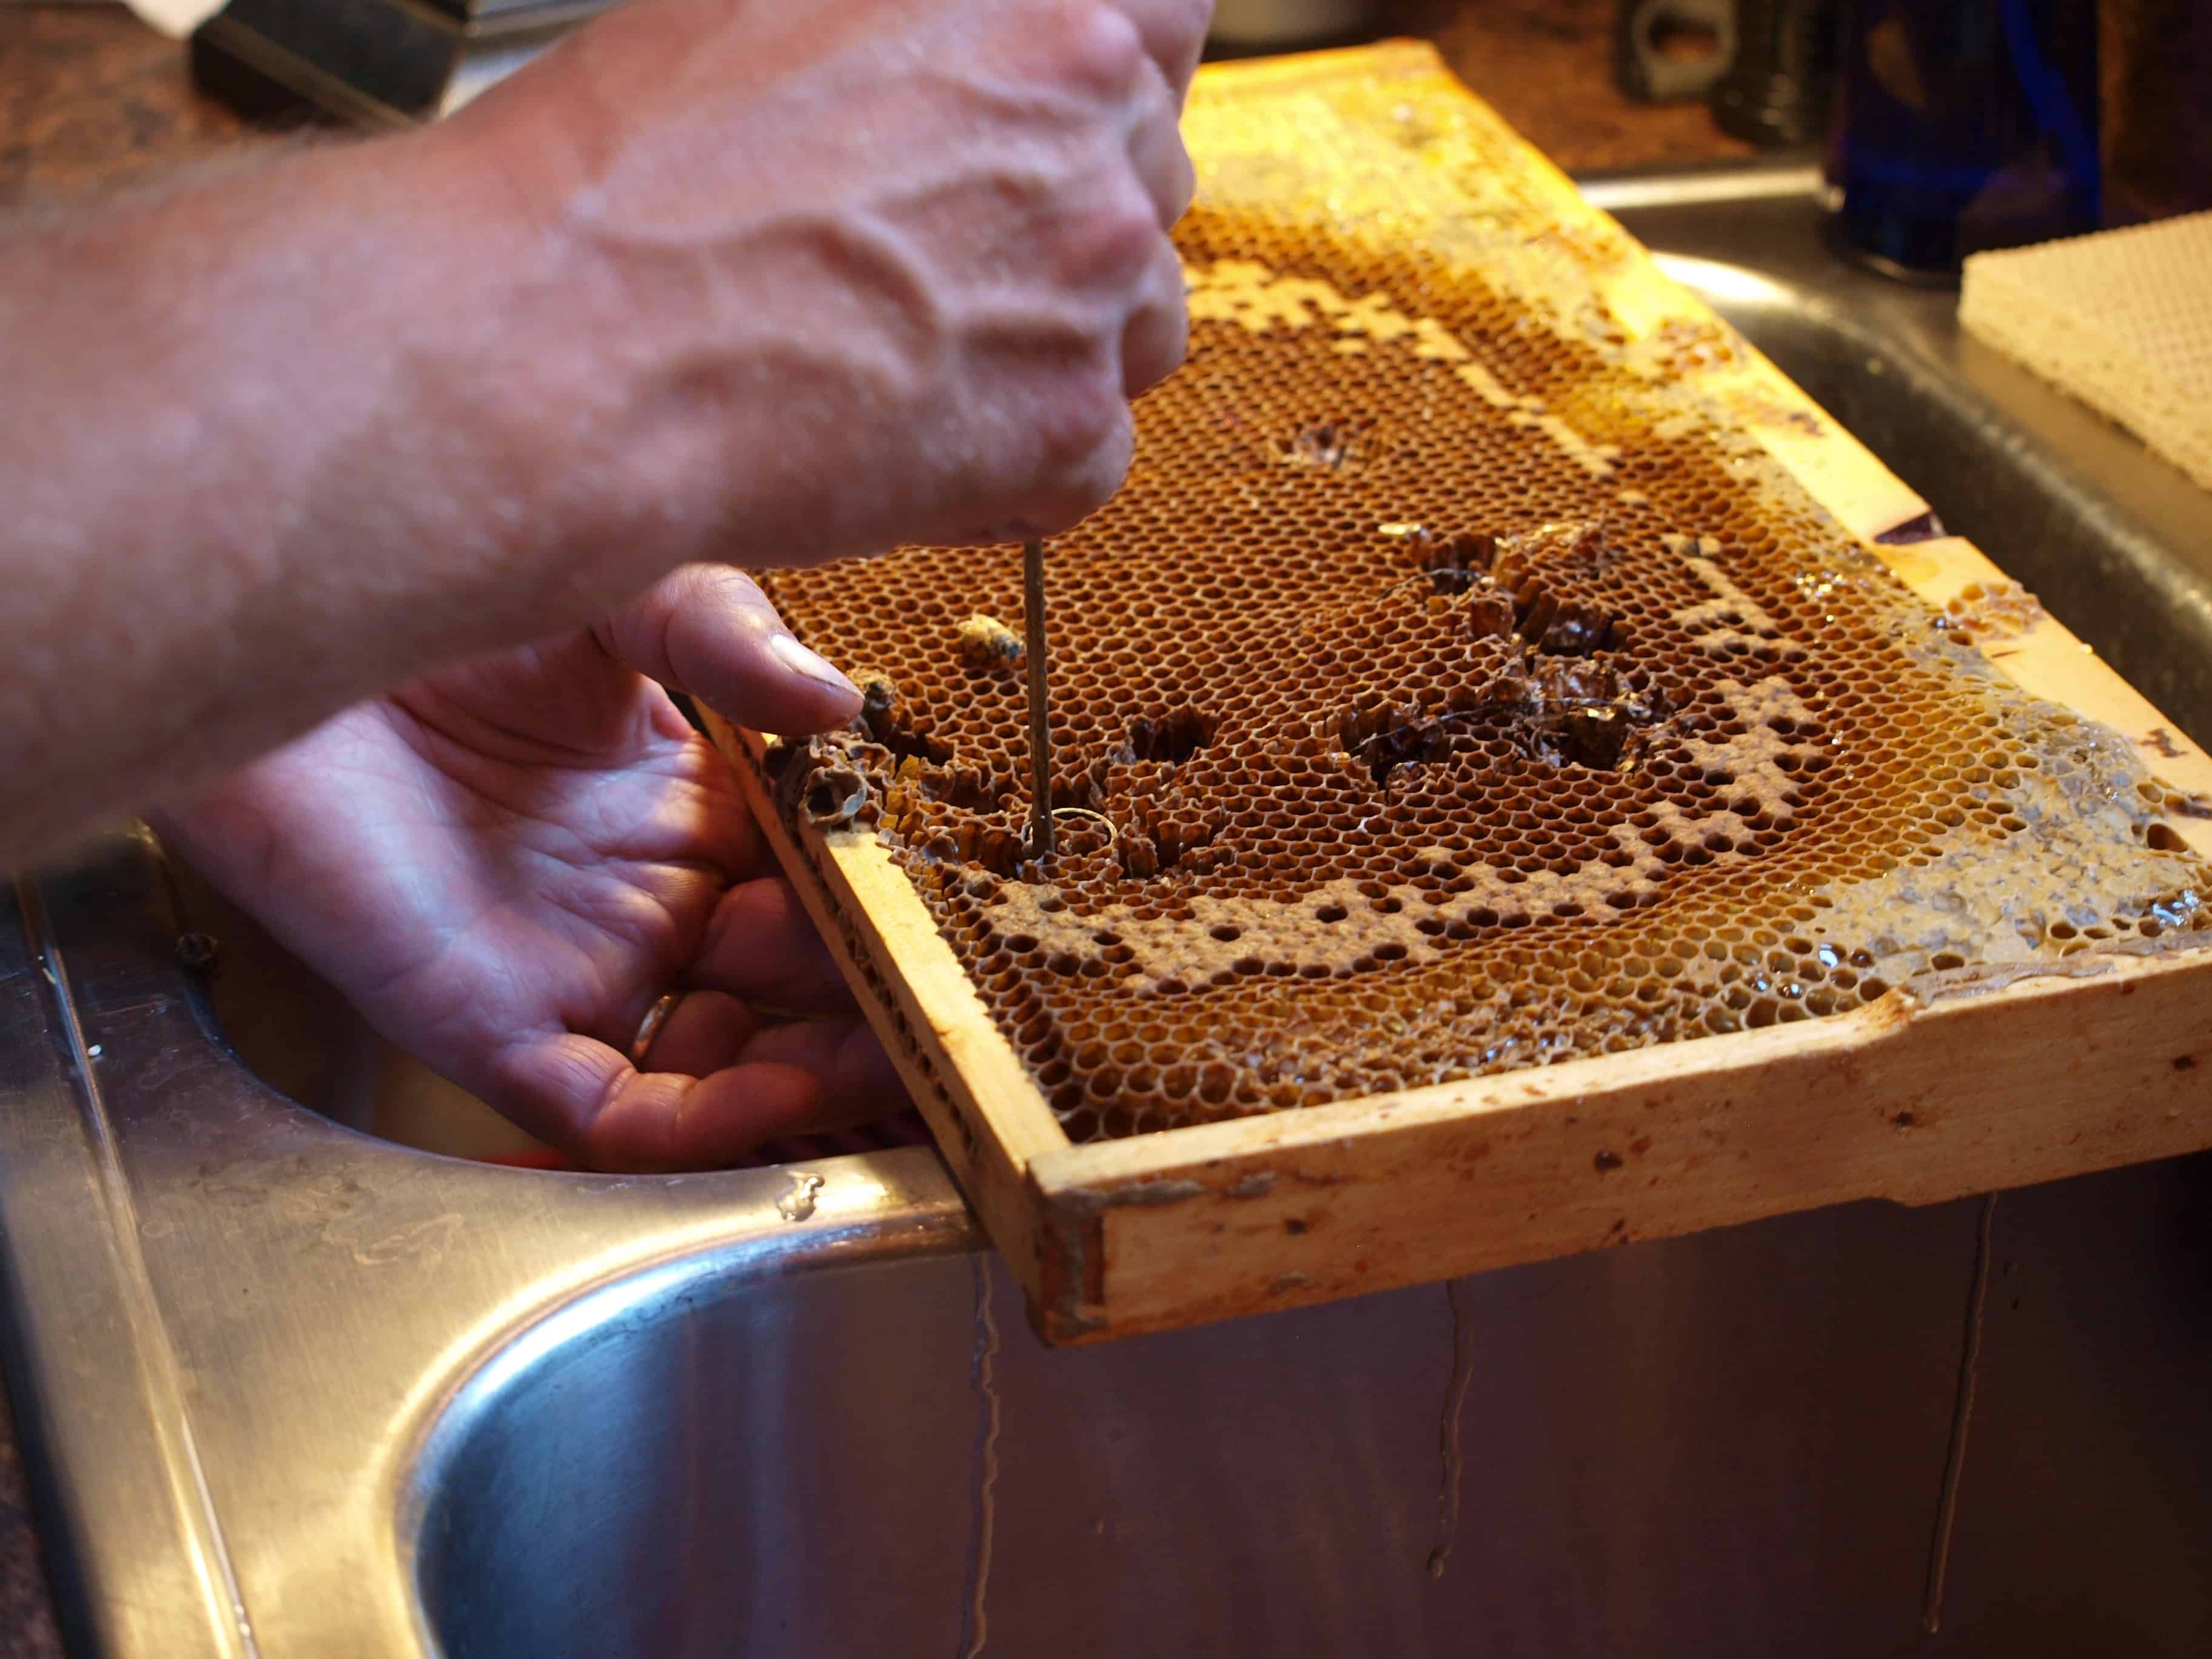
Instead of grafting larva (e.g. lifting a young larva out of its cell and placing it into a queen cup) you simply use a “cell punch” tool to punch out the entire cell with the larva intact. Given my relatively poor eyesight, this single technique significantly improved my success rates fairly dramatically. This cell punch method works fine if you plan to raise a small number of queens in a given season (e.g. < 50). If you plan to raise hundreds of queens this approach is not going to scale up very well.
The “cell punch” method is a relatively easy way to raise queens on a small scale without having to graft.
This summer, we continued to use the cell punch method given our past successes. There are a number of things we’ve learned along the way that are worth sharing with anybody else who is going to attempt this. Some of these lessons learned reiterate points I made in an earlier article on this topic.
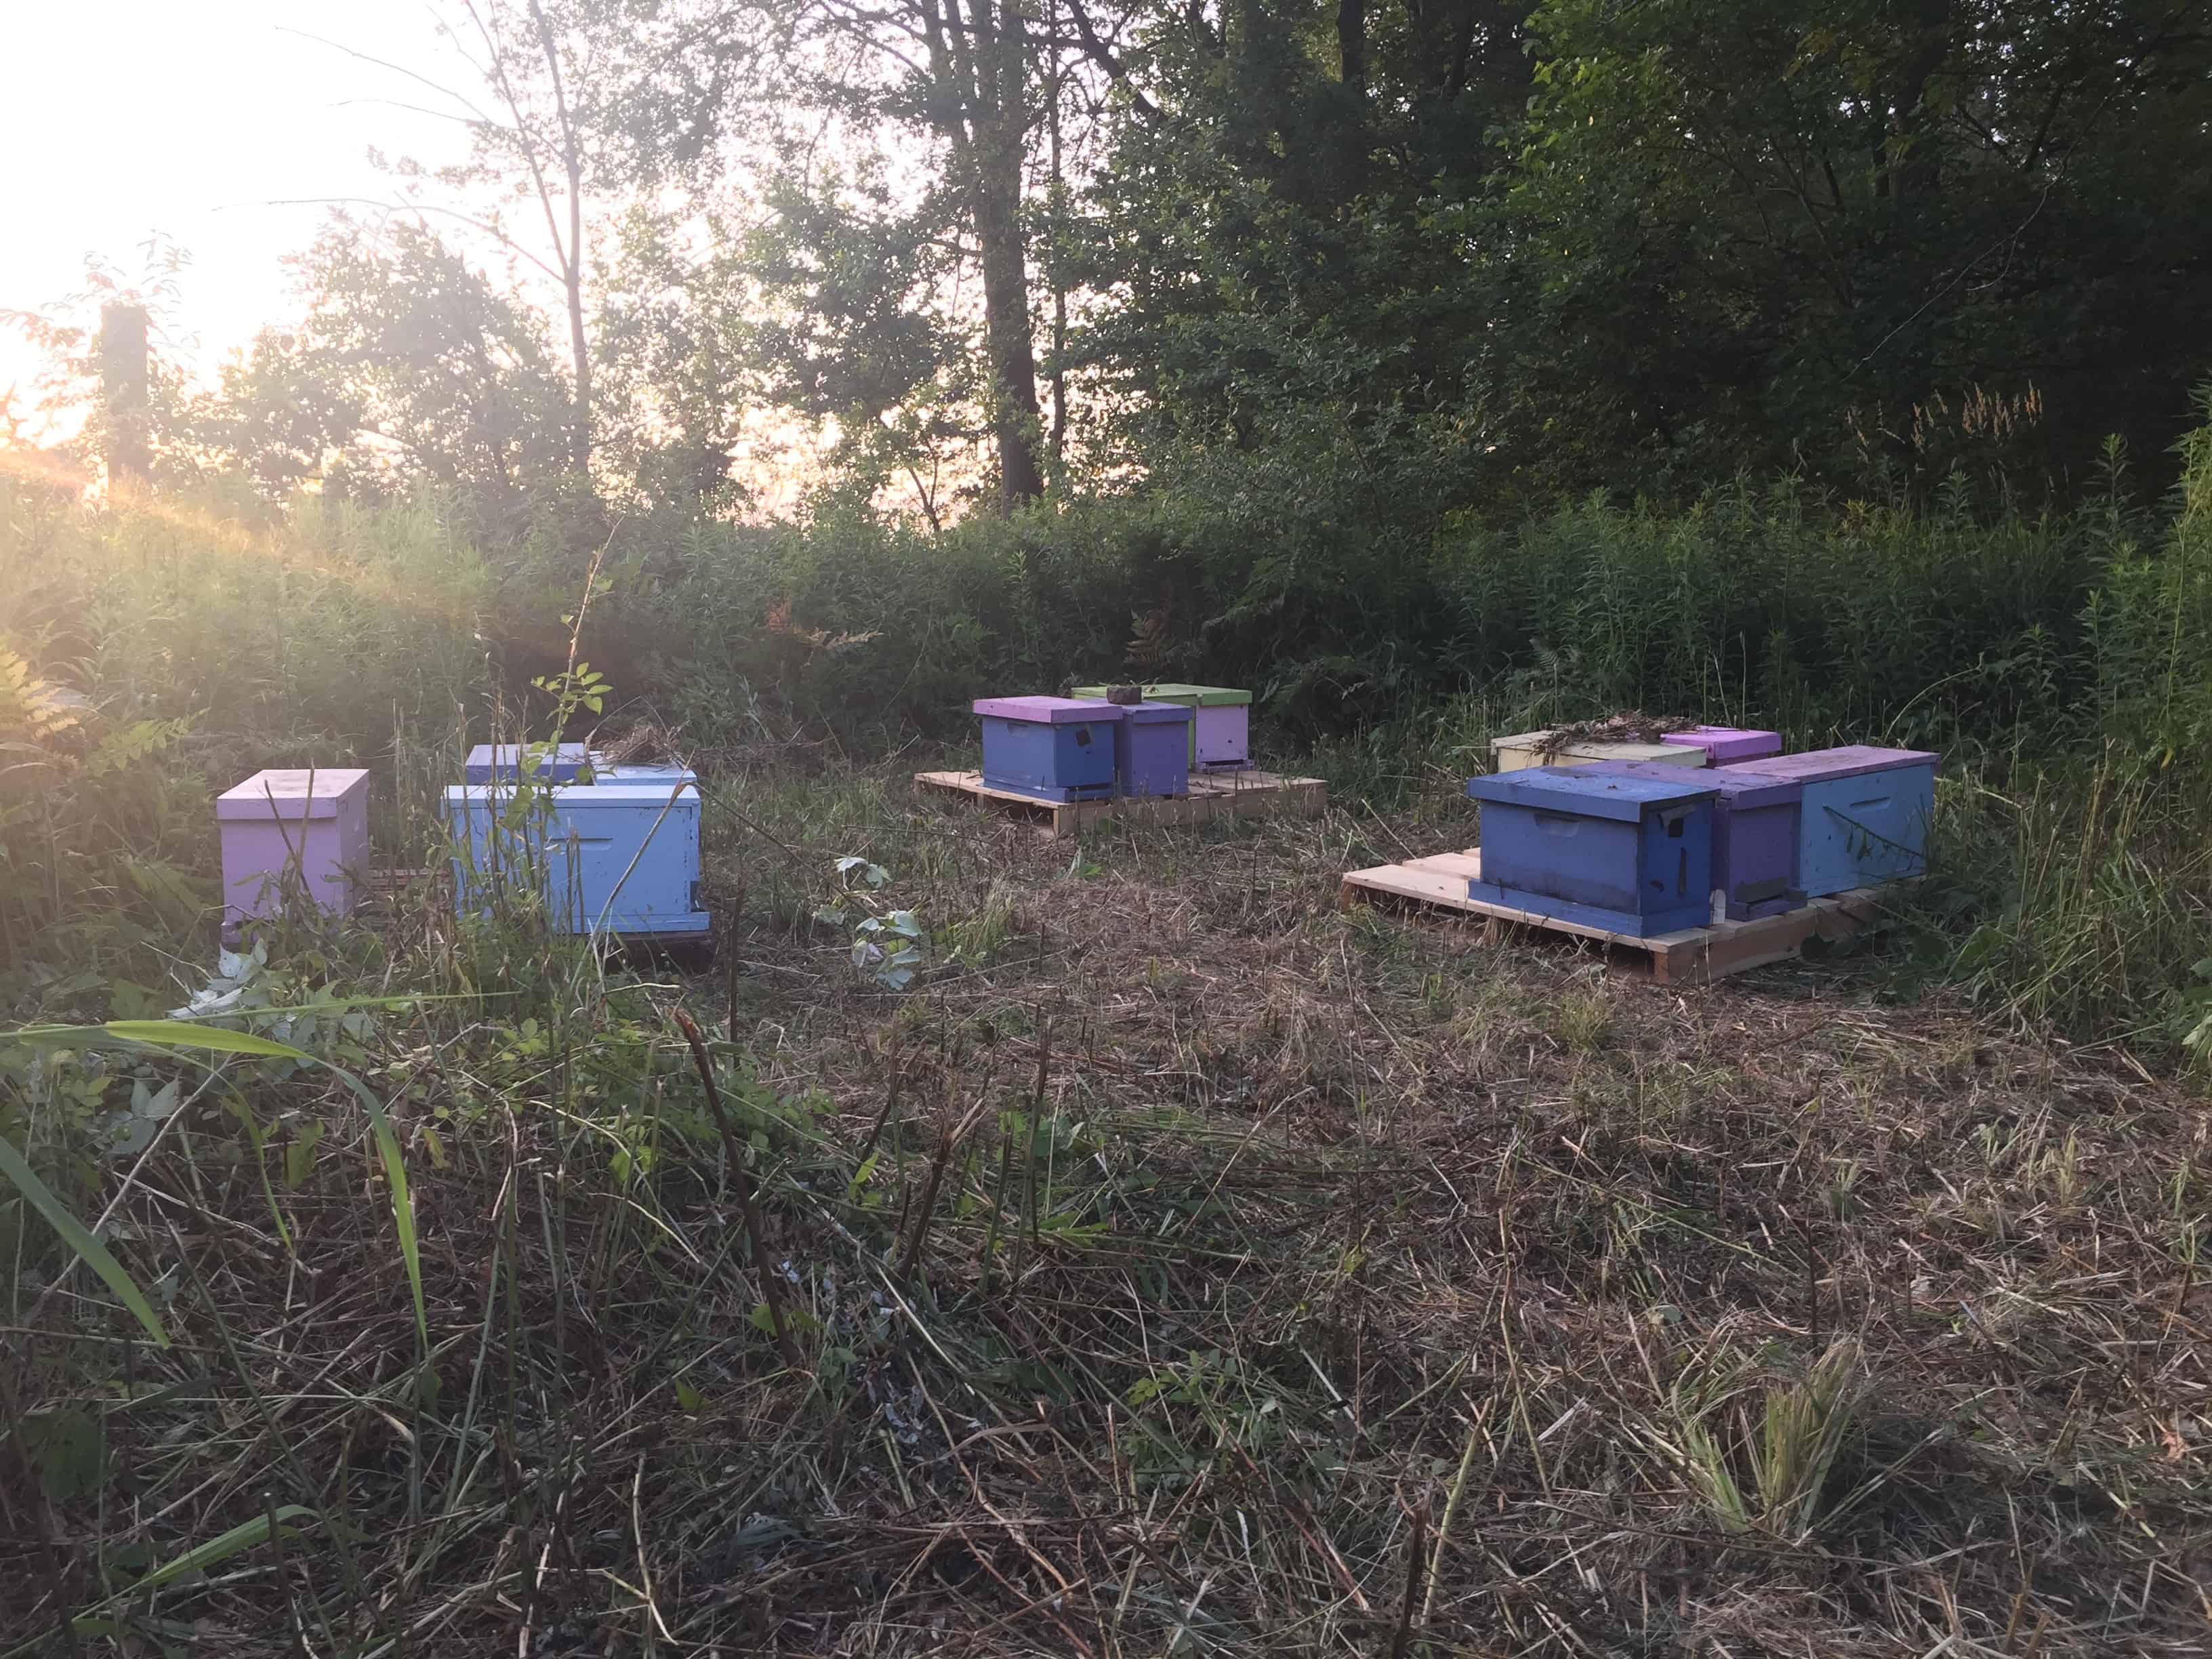
Lesson #1 – You will need a decent sized apiary to raise queens in this fashion. You simply aren’t going to be able to do this successfully if don’t have at least 10 hives to work with, preferably more. With fewer than 10 hives, not only are you going to have slim pickings when it comes to selecting a good breeder colony, but you are also going to have a harder time making sure you have a good cell builder colony jammed with a critical mass of young bees. Once you have a dozen or more ripe queen cells, you will need to make up a bunch of nucs to mate the hatching virgins in. All of this takes bee resources that you simply won’t have if you only have 4-5 hives in the backyard.
Lesson #2 – Make up your mating nucs late in the day. We make up mating nucs in one of our remote bee yards and bring them to our home apiary where we keep our cell builder colony. Depending on how far along we are in the spring/summer we will create these nucs by simply stealing frames of bees/broods from strong production colonies, or in some cases we will breakup a production colonies that have queen issues into 4-5 nucs each. One problem we’ve had is that if we do this too early in the day, when we move the nucs home we get a lot of drifting and within a day or so some of the nucs are bursting with bees and others have almost none. If we do this later in the day so that we arrive home with a load of nucs at dusks, the bees stay put and by morning the nucs are equal in strength and ready to receive a ripe cell.
Make up your nucs later in the day and move them to a new location at dusk or later to avoid drifting.
Lesson #3 – Make sure you are punching cells with larva of exactly the right age. If you punch eggs, you won’t know if some are 1 day old, and others about to hatch on their third day. If you punch larva older that is too old, you’ll end up with an inferior queen. Look for larva that are not much bigger than the eggs themselves. If you aren’t very good at judging the larva age by looking at it, then look for a frame of eggs and mark it. Go back 24 hours later and check the same frame – if it is larva, go ahead and graft. If it is still eggs, put it back and check again in 24 hours. Another thing to realize is that all of eggs on a single frame are likely not laid on the same day, so you need to remember exactly which area of the frame were eggs. The bottom line is you are going to need to learn to recognize visually the larva of proper age. If you eyes aren’t up to the task (like mine), you’ll want to use some sort of magnifying glass to make sure you are punching the right cells.
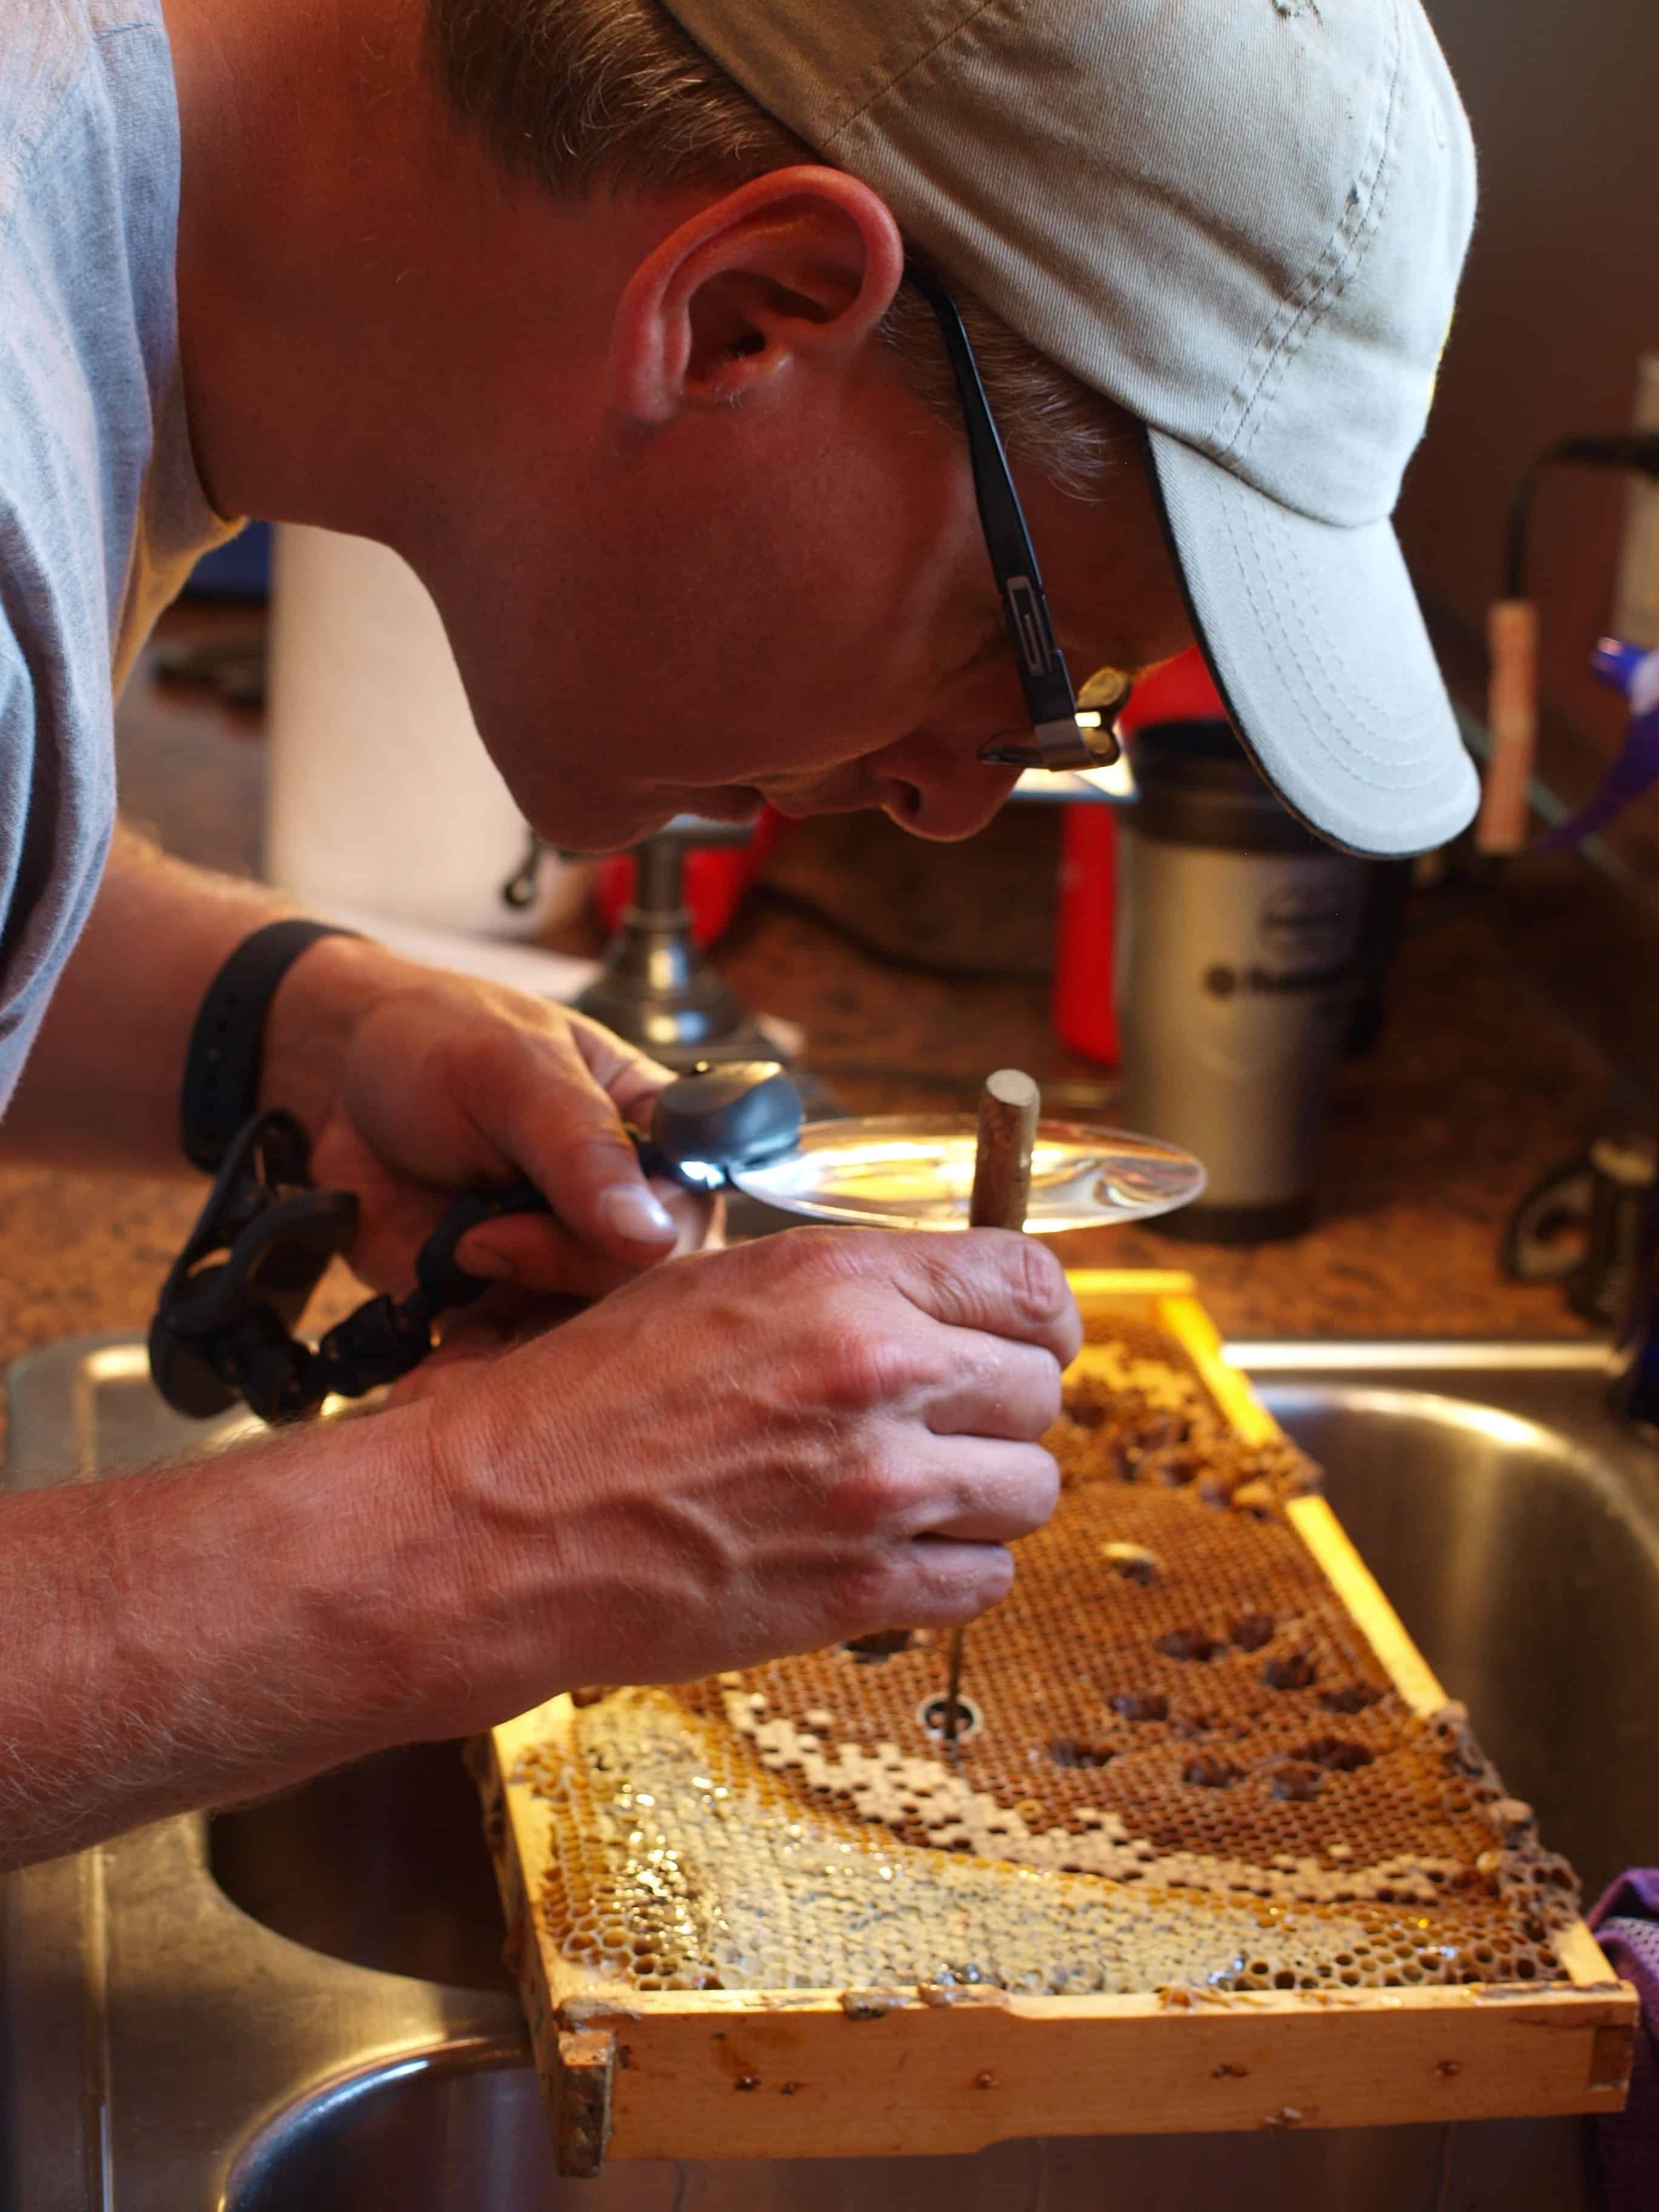
I use a magnifying glass to make sure I am punching the right sized (aged) larva.
Lesson #4 – Make sure you have an overflowing abundance of young bees in the queen less cell builder that you introduce your punched cells into. This can be accomplished by putting 6-8 frames of just hatching bees from your resource hives into your cell builder around 8 days before you punch your cells. This will ensure that you have enough workers of the right age to accept and build the cells you provide into queen cells. If you don’t have enough young workers, very few of the cells you punch will be accepted and developed into ripe cells. The ones that do are likely to be smaller and potentially inferior queens.
For nice large ripe queen cells make sure your cell builder has a critical mass of young bees at the right age.
Lesson #5 – Watch the weather. You want nice sunny, warm and not so windy days for your virgins to mate. If you end up with days of dreary rainy weather at the time your virgins should be taking their mating flights you might not get the queens you are hoping for. There are no control knobs to dial on this one, you just hope and pray. However, it is good to observe the conditions during the mating period so if your queens don’t turn out well you at least have a good theory why and are motivated enough to give it another try!
Is the cell punch available to purchase?
Thank you,
Doug
@Douglas Hoos – I bought one from Jerry Freeman, the guy who created the Freeman Beetle Trap quite a few years ago. You can find his phone number / email address on his website: http://freemanbeetletrap.com. It would also be fairly easy to make one from scratch. Hope this helps.
Thank you for sharing.